Microsoft status
The Microsoft 365 private status integration enables your StatusGator account to fetch internal health data directly from Microsoft services (like Office 365), providing accurate, internal-only status visibility in your board.
This feature is available exclusively on the Enterprise plan.
Features
- Internal Microsoft 365 service monitoring – track the status of your Office 365 tenant without relying on public status pages.
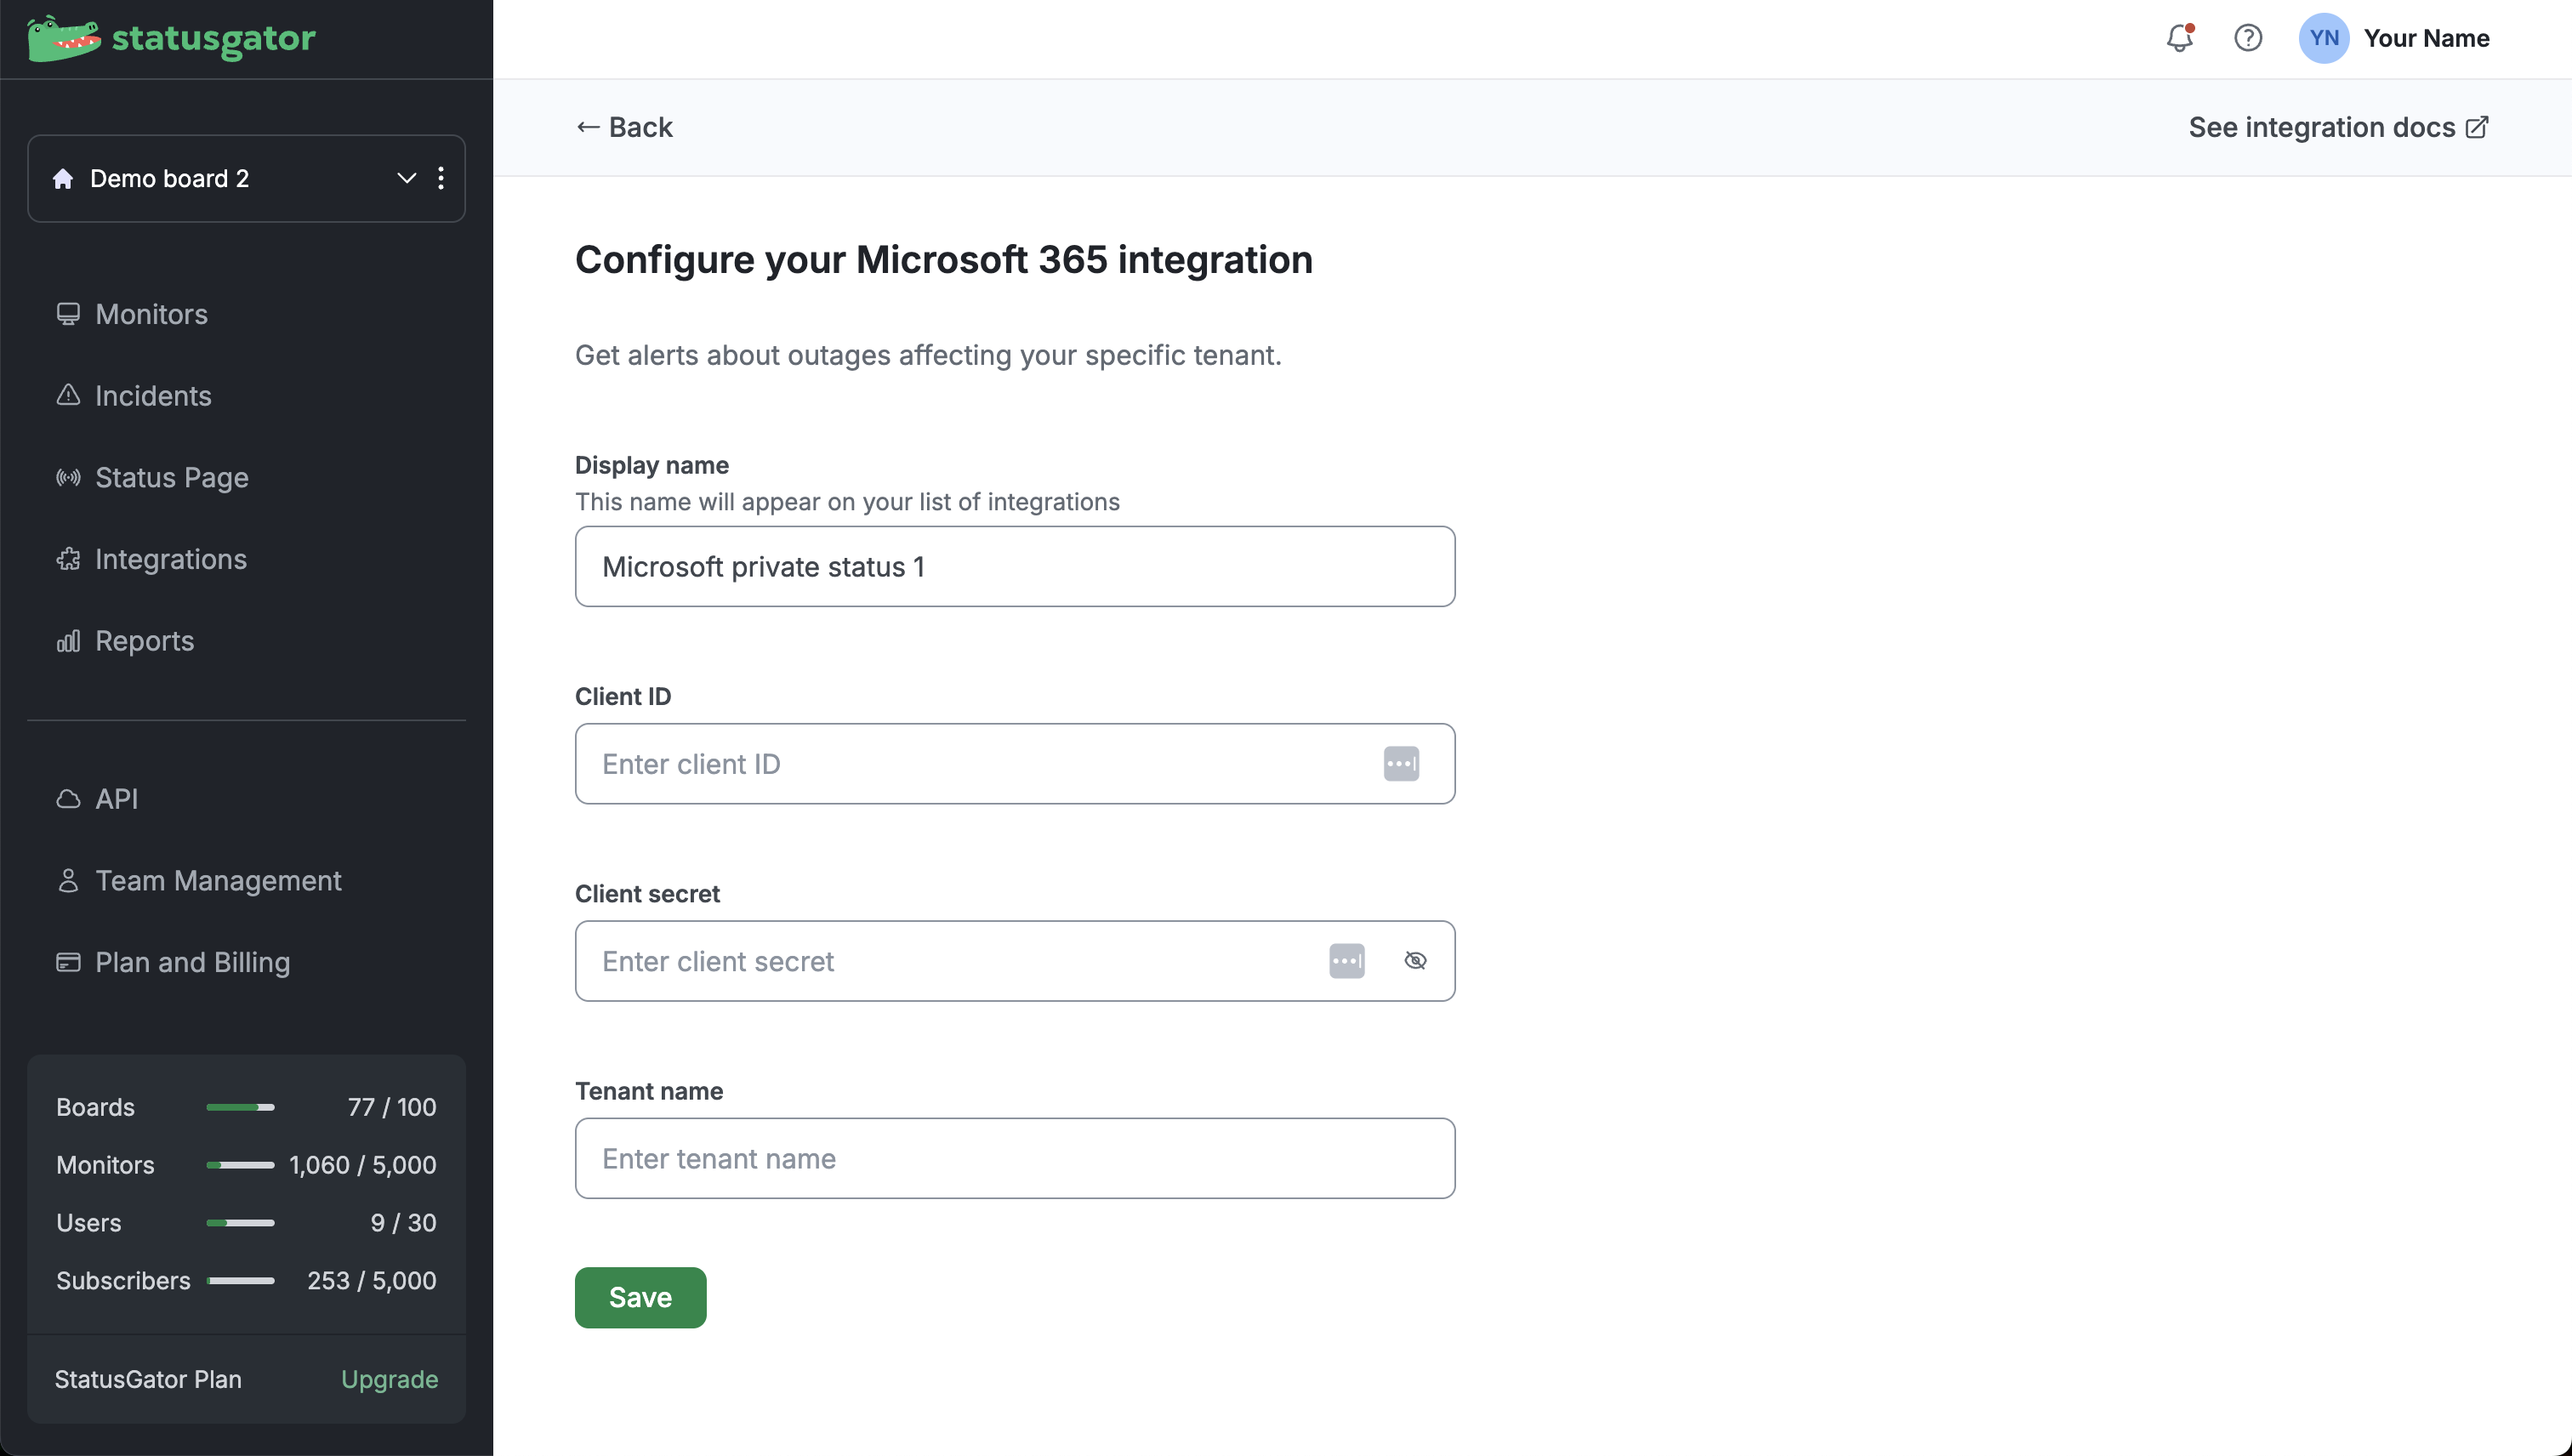
Set up the integration
- In StatusGator, go to Integrations → Private status → Microsoft 365 → Add.
- Enter your Tenant name, Client ID, and Client secret:
- Tenant Name – your domain, such as
yourcompany.comoryourcompany.onmicrosoft.com. - Client ID – generated when you register a new application in Azure AD.
- Client Secret – created alongside the Client ID, used for authentication.
- Tenant Name – your domain, such as
- Save to activate the integration.
How to register the application in Microsoft Entra (Azure AD)
1. Create the Application
Sign in to the Microsoft Entra admin center.
In the left menu, click Applications → Enterprise applications.
At the top, click New application.
Select Create your own application.
Under What’s the name of your app?, enter “StatusGator” (or another name of your choice).
Under What are you looking to do with your application?, choose
Register an application to integrate with Microsoft Entra ID (App you’re developing).
Click Create.
2. Configure API Permissions
- In the left menu, select API permissions.
- Click Add a permission.
- Choose Microsoft Graph → Application permissions.
- In the search box, type ServiceHealth, expand the result, and check ServiceHealth.Read.All.
- Type ServiceMessage, expand the result, and check ServiceMessage.Read.All.
- Click Add permissions.
- At the top, click Grant admin consent for [organization], then select Yes to confirm.
3. Create a Client Secret
In the left menu, go to Certificates & secrets.
Open the Client secrets tab.
Click New client secret.
Enter a description (e.g., StatusGator).
Choose an expiration period.
Note: You must generate a new secret and update it in the StatusGator UI before it expires.
Click Add.
Copy the string in the Value column. This is your Client Secret.
4. Collect IDs
- In the left menu, click Overview.
- Copy the Application (client) ID → this is your Client ID.
- Open your user profile menu (top right).
- The value after the @ in your email address is your Tenant ID.